Recipe: Gingerbread House

Final Gingerbread House
Please don’t let my house’s lack of structural integrity dissuade you from making this easy and delicious gingerbread recipe! We had a wonderful time decorating what we called “The House after the Kansas City Blizzard 2018”. (The Blizzard was super cool by the way! My first Blizzard!)
Edit 2019: I used this same recipe in 2019 and actually managed to build the house to be structurally sound! Peak over at the Lemon Gingerbread Sandwich Cookie post for pictures of it!
Ready In: 2 Days (1 Hr, Chill Overnight, 30 Minutes for Baking and 2 Hrs for Construction) | Serves: 1 House (5” by 5” one story) + 1/2 House worth of extra (Just in Case)
Price: ~ $10
Ingredients:
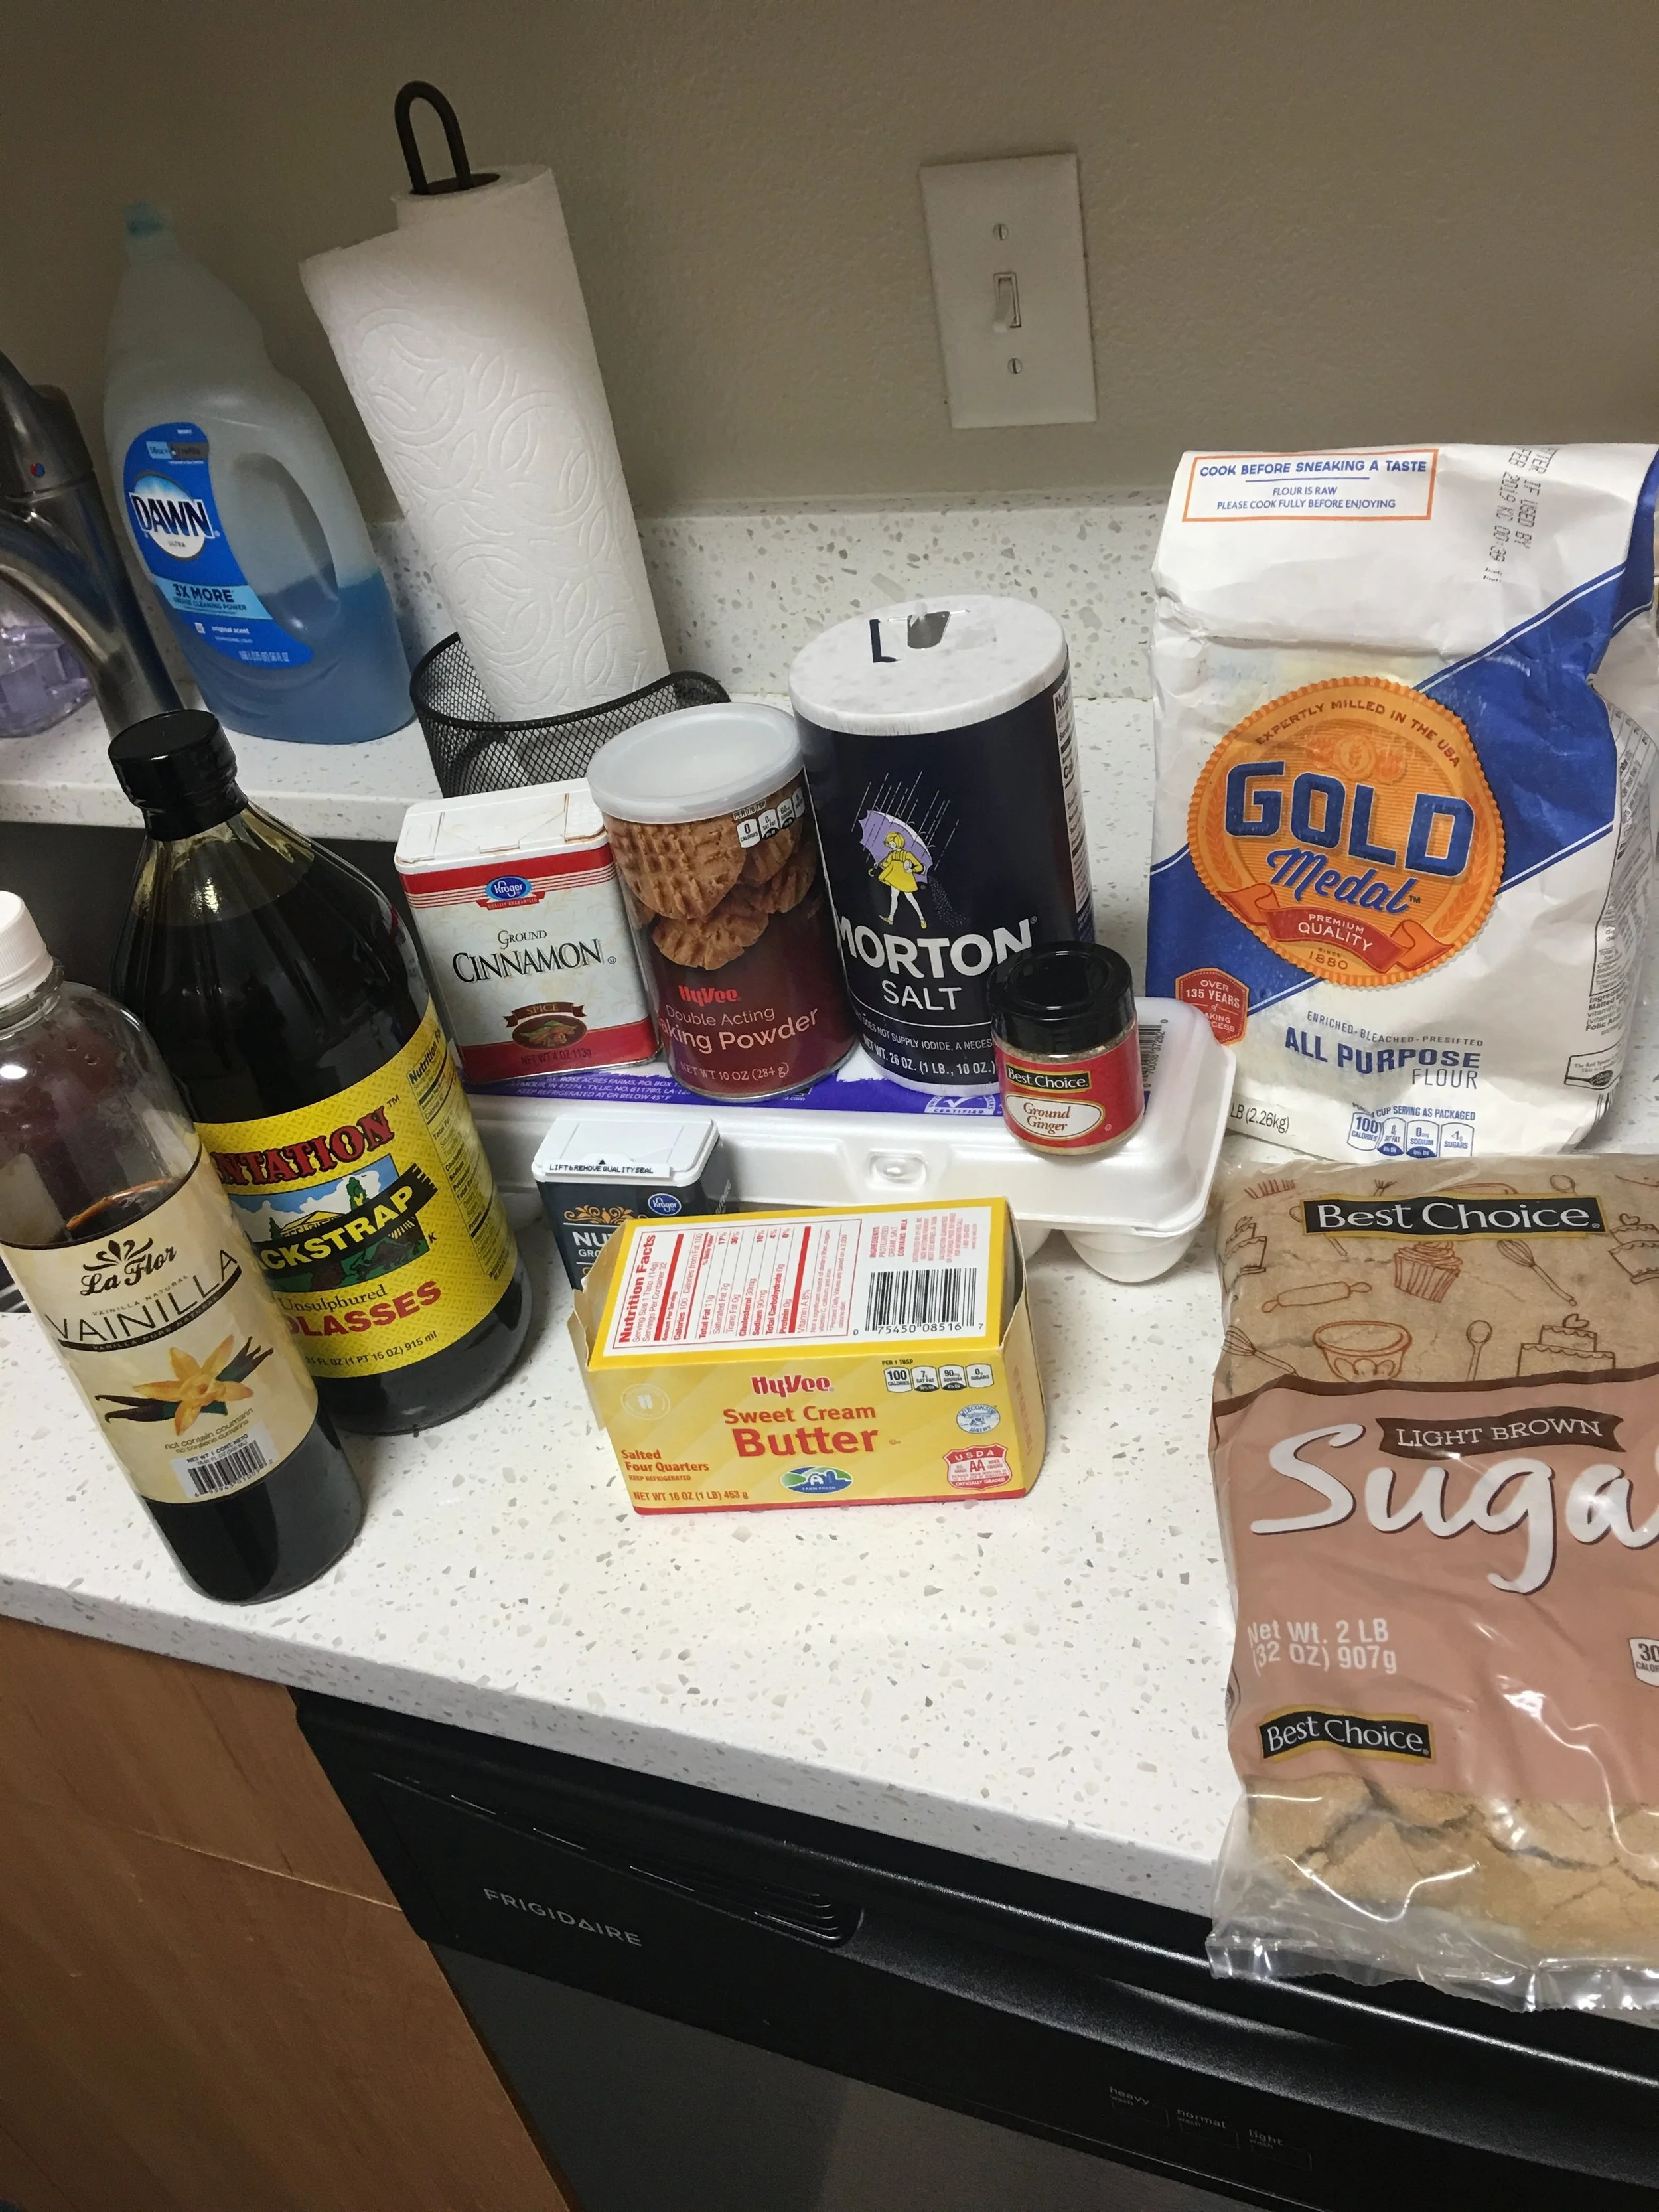
Gingerbread House Ingredients
Gingerbread:
* 6 Cups Flour
* 1 Tsp Baking Powder
* 4 Tsp Ginger
* 4 Tsp Cinnamon
* 1 Tsp Nutmeg
* 1/2 Tsp Salt
* 3/4 Cup Butter (12 Tbsp)
* 1 and 1/2 Cup Brown Sugar
* 2 Tbsp Vanilla
* 2/3 Cup Molasses
* 2 Eggs
Royal Icing/Decorations:
* 2 XL Egg Whites
* 3 Cups Powdered Sugar
* Various Candies/Snacks for Decoration
Directions

Mix the dry and wet ingredients separately.
1) Mix Dry Ingredients, flour, baking powder, ginger, cinnamon, nutmeg, and salt.
2) In a stand mixer (or via hand mixer), cream the butter, brown sugar, and vanilla until smooth. Once smooth, add eggs and molasses. Continue mixing until well mixed.
3) Slowly add the dry to the wet ingredients. Once about half of it is added in, you’ll need to knead (lol need to knead xD) the rest of the dry ingredients into the mixture either by hand, or using a stand mixer’s dough hook.
4) Once thoroughly mixed and kneaded, put the dough into a gallon zip lock bag (or multiple smaller bags) and chill in the fridge overnight.
——— THE NEXT DAY ————
5) Preheat your oven to 350. Line a sheet sheet (or two) with parchment paper and PAM spray the paper.
6) Separate the dough into at least two chunks and roll one out via rolling pin until it is about a quarter inch thick, or as I like to think of it - half a finger high. If you have problems with the dough being to hard, let it sit on the counter for 15 minutes and try again - repeat until you can roll the dough (keeping in mind that you’ll still need to use some force!). If you have problems with the dough sticking, flour your surface, your dough, and your pin.

Roll your dough and cut your shapes
7) It’s time to cut your shapes. I’d recommend either modeling your house first from cardboard (or something similarly sturdy) and cutting based on that. (Which I did not do) Otherwise, there are many gingerbread house patterns you can find online with dimensions that have worked for other people. (This is what I did, which would have worked, had I not had a fatal flaw - to be discussed later).
Here are the dimensions I used:
Roof: https://www.simplyrecipes.com/photos/gingerbread-pattern-roof.gif
Sides & Chimney: https://www.simplyrecipes.com/photos/gingerbread-pattern-side.gif
Front & Back: https://www.simplyrecipes.com/photos/gingerbread-pattern-front-b.gif

One Roof Piece

Baking the Gingerbread

My Fatal Flaw - Don’t do what I did here.
8) Pull away the pieces of gingerbread that haven’t been cut and continue the process of rolling and cutting until you have all the house pieces!
9) Carefully place your cut dough on your cookie sheet and bake for 8-10 minutes. Once baked, set on a cooling rack.
So, my fatal flaw was cutting up the bigger pieces (like the roof and front and back) into smaller pieces for baking - however when it came time to build, the royal icing junctures holding these big pieces together weren’t strong enough. So, when you go to cook your dough, don’t cut up the big pieces! Cook as is!
Perhaps I could have waited even longer to get the royal icing to Harden further, but we had fun decorating our pile nonetheless!
10) Cool completely. While cooling, whip up your royal icing by mixing the egg whites with powdered sugar. Add the sugar gradually to ensure through mixing. Keep mixing until the mixture forms stiff peaks. Another test is to keep mixing until you’re sugar that the icing won’t spill out if you were to hold your mixing bowl upside down. Once formed, quickly put your icing into a piping bag/ziploc to lessen exposure to the air - which will harden it.
11) Once the bread has cooled and the icing is made, it’s time to start assembling! This is the fun part - make sure to give time for the royal icing to harden between layers (unlike me) though! Pipe icing onto the gingerbread as your glue.

Getting out my decorations

Not too bad so far

My downfall!

My Post Blizzard House
12) Once assembled (or in my case, disassembled), to your liking. Use the royal icing to attaching your candy decorations and enjoy!

My masterpiece - 2018